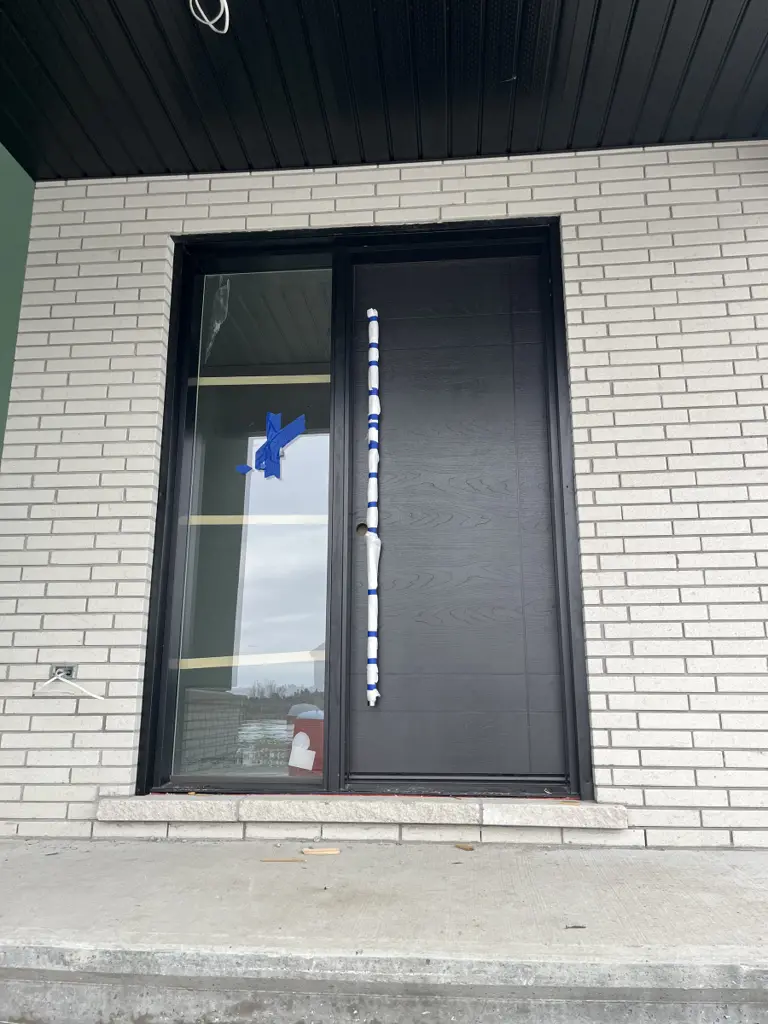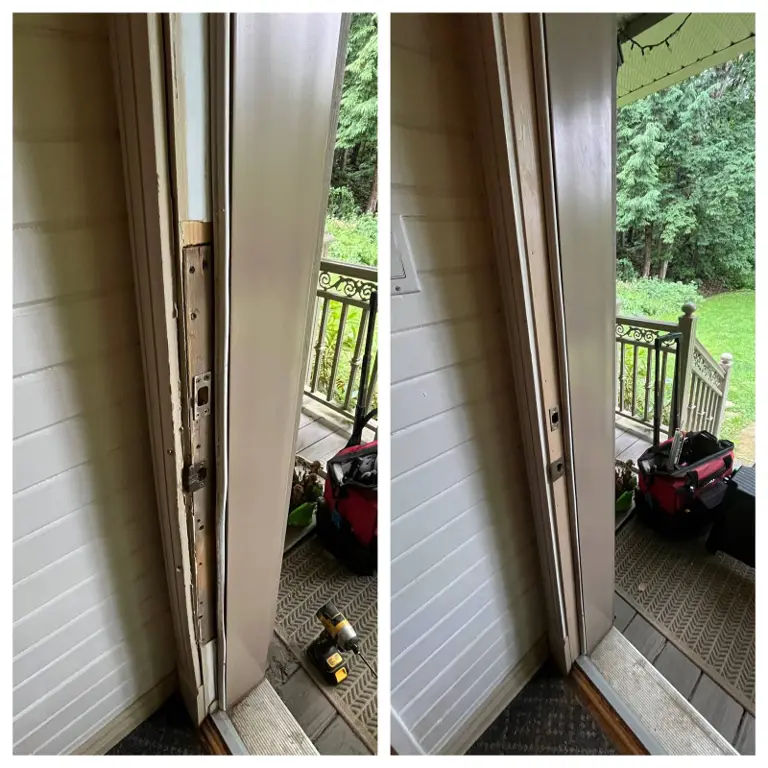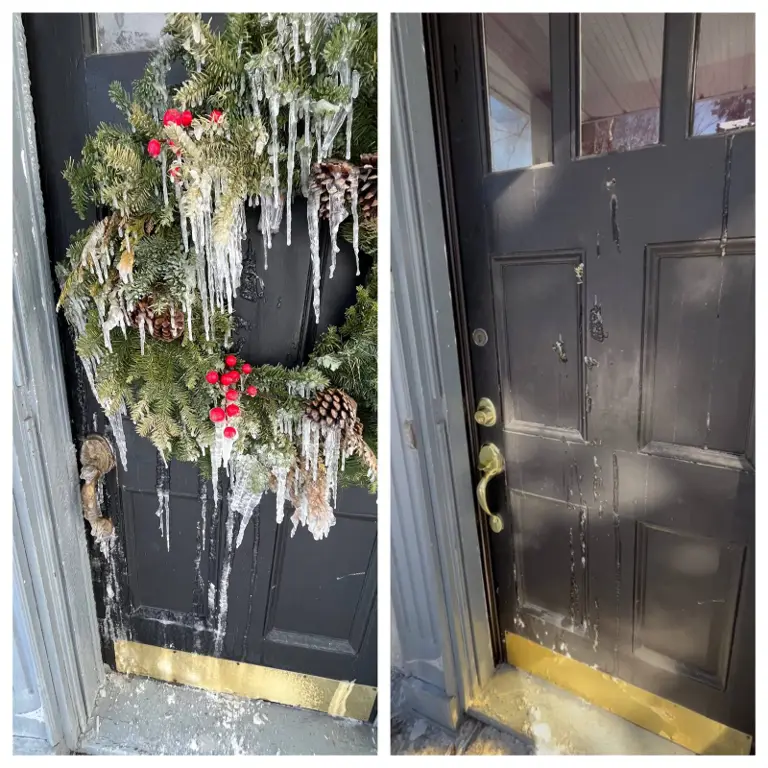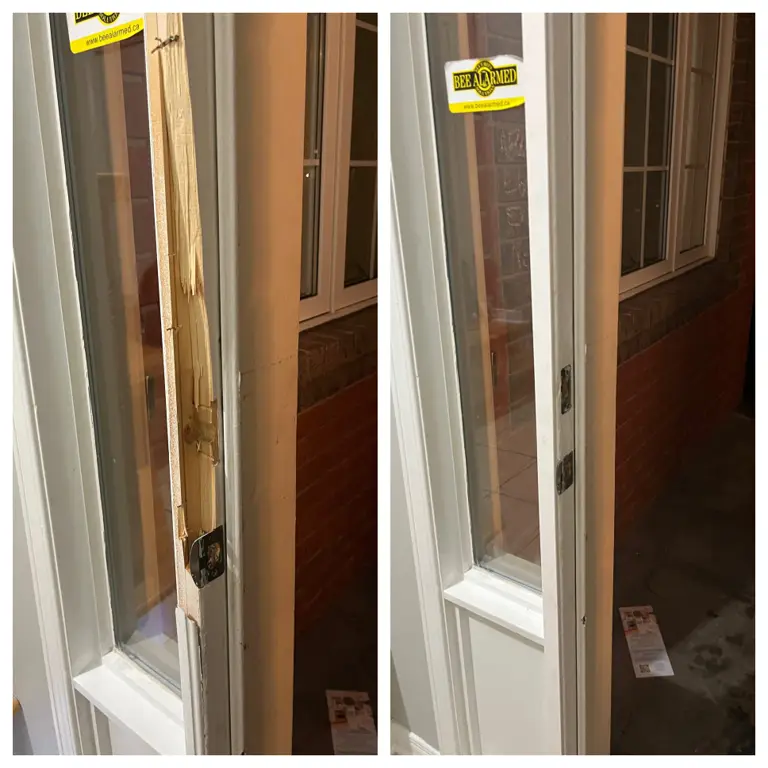

This exterior door looked serviceable from the outside. Water had been finding its way in around and beneath the opening, and by the time we were called it was showing up on the ceiling of the room below. This case study shows what was found once the door came out, and how the opening was rebuilt before a new exterior door went in.
The Original Exterior Door Problem
The first sign of trouble was not at the door itself. It was a stain forming on the ceiling of the level underneath. Water was entering around and beneath the door jamb and threshold, travelling inside the wall assembly, and appearing a full storey away from where it was actually getting in.
From the outside, the door still closed and there was nothing that jumped out as an emergency — some shrunk caulking, nothing dramatic. The real damage was hidden behind the trim and siding. That gap between the entry point and the visible leak is why problems like this are often left alone until the water makes itself known somewhere else in the house. For residential entry issues that can still be repaired, see front door repair. This job needed full replacement after hidden water damage.

What Was Found After Removing the Door
Once the door and surrounding trim came off, it was clear the leak had been running for some time. The lower framing and threshold area were significantly deteriorated — soft, discoloured wood that had absorbed water repeatedly, along with sections that had broken down enough to crumble by hand rather than needing to be cut. Insulation packed around the opening was saturated and matted, which is usually the clearest sign that water has been moving through a wall cavity rather than sitting on a single surface.
The slab itself can seem fine while the structure holding it has been failing underneath. A door only performs as well as the framing it is set into, and no amount of weatherstripping or caulk can compensate for a jamb or sill that is already rotted. That is the difference between a reseal and a full opening rebuild.


Removing the Water-Damaged Material
With the extent of the damage confirmed, the next step was clearing out everything that had been compromised — deteriorated trim, saturated insulation, and the sections of framing and sheathing that had broken down too far to reuse. Some of the wood came away in soft, water-logged pieces rather than clean cuts, which is typical once rot has been active for an extended period.
The goal at this stage is straightforward: reach solid, dry material everywhere the new door and its framing will bear load, and do not leave compromised wood behind the new work. Rebuilding around rot that was not fully removed just delays the same failure. When the damage is limited to the finished jamb, rotting door frame repair can often save the opening. Here it had gone further.


Repairing and Preparing the Door Opening
With the damaged material cleared out, the affected framing and substrate were rebuilt using new pressure-treated lumber suited to an exterior, moisture-exposed application. The priority is a square, solid opening — a new door set into an out-of-square or still-soft frame will never seal properly, no matter how good the door itself is.
Every replacement section was fastened and sealed as it went in, so the rebuild was already being prepared for the waterproofing steps that followed. Taking time to get the framing square here makes flashing, door alignment and trim go the way they are supposed to. That opening work is the same principle behind our door frame repair service, taken further because the door itself also had to come out.

Sealing and Weatherproofing
A door opening fails at the water-control layer long before it fails structurally, so this step matters as much as the framing itself. The perimeter of the rebuilt opening — sill, jambs and header — was flashed and taped so that any water reaching the exterior surface has a controlled path to shed outward rather than a way to track back into the wall.
Getting the sequencing right at the sill is what keeps water moving out and down instead of pooling against new wood. Each layer of flashing was lapped with the one below it, the same principle that keeps siding from trapping water. Proper flashing and sealing does not make an opening waterproof forever. It gives the assembly the best chance of shedding water the way it is supposed to, for as long as the materials and caulking are maintained. Related sealing work includes weatherstripping and threshold and sill repair pages.


Installing the New Exterior Door
With the opening square, dry and properly flashed, the new exterior door was set, plumbed and fastened into place. Getting the reveal even on all sides and the hinge side plumb is what makes a door swing, latch and seal properly instead of starting to bind or gap within a season. The unit was shimmed, secured and checked for smooth operation before the final trim and hardware went on.
A door installed into a properly prepared opening should close with even resistance across the whole frame, not catch at one corner or leave a visible gap at another. That even fit is one of the clearest signs the opening was actually squared before the door went in. Full replacement work like this is part of our door installation service, not a shortcut over damaged framing.

Aluminum Capping and Final Sealing
To finish and protect the repaired opening, the exterior trim was capped in aluminum and sealed at every joint. Capping does two jobs at once: it gives the exterior a clean, finished look, and it puts a durable weather barrier over the wood trim underneath so it is not directly exposed to Ottawa rain, snow and freeze-thaw cycles the way the original assembly was.
On an opening that has already had one water-damage problem, this step is about more than appearance. Capped trim sheds water instead of absorbing it the way painted or bare wood eventually does, which lowers the odds of the same kind of slow deterioration happening again in the same spot.
Finished Result
The finished opening now has a new exterior door, solid rebuilt framing behind it, a properly flashed and sealed sill and jambs, and aluminum-capped trim protecting the exterior finish. From the outside it reads as a clean door replacement. The real work happened in the framing nobody sees, which is exactly where the original leak had been doing its damage.
Why This Was More Than a Simple Door Replacement
Installing another door over deteriorated material would have left the leak path in place. This job was correcting the damaged opening: removing the old door, exposing the water-damaged framing, taking out what had failed, rebuilding and preparing the opening, then waterproofing, installing the new door, capping and sealing. That sequence is what makes the new door able to keep water out.
Not every leaking exterior door needs this much work. If you are unsure whether you are looking at a reseal, a frame repair or a full replacement, that is a reasonable thing to have assessed before deciding. Start with door repair in Ottawa if the slab and frame still look sound.
Signs of Water Intrusion Around an Exterior Door
Most water intrusion around an exterior door does not announce itself right away. A few signs worth checking:
- Soft or discoloured wood around the door jamb or trim
- Trim or casing that looks swollen or is separating at the joints
- Staining or discolouration near the threshold, inside or out
- A musty smell near the door that was not there before
- Damaged or cupping flooring close to the opening
- Water appearing on a ceiling or wall below or beside the door
- Caulking that keeps failing again within a season or two of resealing
- Visible gaps between the door frame and the surrounding wall or siding
Any one of these on its own is not necessarily an emergency, but a few together — especially recurring caulking failure combined with staining — are worth having looked at before the next wet season or winter freeze-thaw cycle.
Can a leaking exterior door be repaired without replacing it?
Not every leaking door needs to come out. If the issue is limited to failed caulking, worn weatherstripping, or a small gap at one corner, resealing and adjusting the door in its existing frame can solve the problem without demolition.
The difference is what is happening behind the trim. If water has only been getting in briefly, the framing underneath is often still sound and a proper reseal is a legitimate fix. Once rot has set into the jamb, sill or subframe — as it had here — there is no way to seal over that and expect the repair to hold. At that point the wall has to be opened, the damage confirmed, and the opening rebuilt from solid material outward.
Have water getting in around an exterior door?
Staining, drafts, a musty smell, or a door that no longer seals the way it used to — any of these are worth a look before the damage spreads further into the wall. Send a few photos or request a quote and we will tell you honestly whether you are looking at a reseal or something more involved.
Related services
- Door Installation Ottawa — full exterior door replacement when the opening is ready
- Front Door Repair Ottawa — residential entry problems that can still be repaired
- Rotting Door Frame Repair Ottawa — when the jamb and sill can be rebuilt without a new door
- Door Frame Repair Ottawa
- Weatherstripping Ottawa
- Threshold & Sill Repair Ottawa
- Door Repair Ottawa
- Before & After Gallery
- Exterior 8 ft custom door installation project